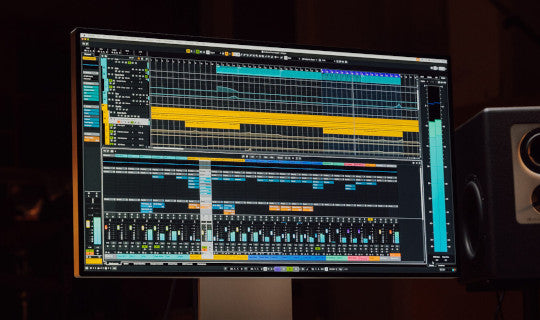
This guide walks you through the process of previewing MIDI files in Cubase 14 using the MediaBay window.
You'll learn how to set up Groove Agent (a virtual instrument for drums) as your playback device and connect it to the MediaBay for seamless MIDI auditioning. The steps include adding and configuring Groove Agent, opening the MediaBay, linking the instrument to the MediaBay, and previewing MIDI files with your chosen kit.
Step 1: Add Groove Agent
Add an Instrument Track
- On the left side of Cubase’s Tracks area, right-click and select Add Instrument Track.
- In the Instrument drop-down menu, choose Groove Agent SE 5 (or another instrument you prefer).
- Optionally, enter a name for the track and click Add Track.
The Image below shows the project window and the "Tracks area" (#2)

Load a Kit
- Make sure to load a drum kit or sound library into Groove Agent so it’s ready for playback. This step ensures you can hear the MIDI file previews in action.
Step 2: Open the MediaBay Window
- Open the MediaBay by pressing F5 or selecting MediaBay from the Media menu.
- The MediaBay window will appear, showing a wide range of audio, MIDI, and instrument files stored in your library.
The image below shows the MediaBay window

Step 3: Connect Groove Agent in the MediaBay
- In the lower-right corner of the MediaBay window, select a virtual instrument for previewing MIDI files. See #5 below.
- By default, this drop-down will show Not Connected.
- Select Groove Agent from the list and set the output to Main (or the appropriate option for your setup).

Step 4: Preview MIDI Files Using the MediaBay
- Browse through the MIDI files in the MediaBay. When you find one you’d like to audition, click on it.
- With Groove Agent connected, you’ll hear the MIDI file played back using the loaded kit.
- Adjust the preview volume or settings as needed to fit your workflow.
The image below shows the controls available in the MediaBay.

Here's what the controls do:
-
Transport controls
Starts and stops the preview.
-
Preview Level fader
Specifies the preview level.
-
Auto Play New Results Selection
Automatically plays back the selected file.
-
Wait for Project Play
Synchronizes the play and stop functions from the Transport panel with the play and stop buttons in the Previewer section.
To use this option to its full extent, set the left locator to the beginning of a bar, then start playing back the project using the Transport panel. The loops that you now select from the Results list start in perfect sync with the project.
-
Output
Allows you to select the output device.
-
Link to Project Tempo
Plays back the selected file in sync with the project, starting at the project cursor position.
Step 5: Drag and Drop
- When you find a loop you like, simply drag it from the Media Browser into the desired track in your project.
A note on MIDI File compatibility
Please keep in mind that your MIDI files must be compatible with the plug-in you choose. You should be able to use files that follow the General MIDI (GM) standard with most of the Groove Agent 5 SE kits. Check the documentation if the plug-in you're using doesn't sound right.
Click here to download our General MIDI Drum Map PDF
Summary
Previewing MIDI files in Cubase 14 using the MediaBay is a straightforward process that can greatly enhance your music production workflow.
By following these steps—adding Groove Agent and loading a kit, opening the MediaBay window, connecting Groove Agent within the MediaBay—you can quickly find and test the perfect MIDI patterns for your project. Master these steps, and you’ll unlock the full potential of Cubase’s MediaBay for your music production needs.


