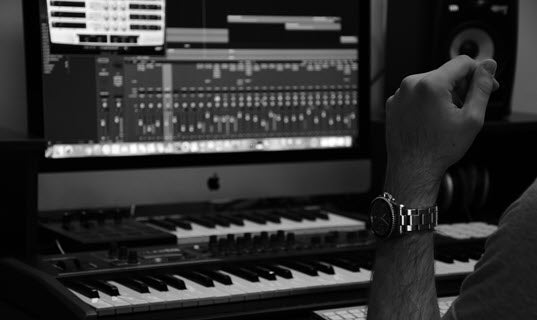
I thought it would be good to cover some GarageBand basics. In this post, I’ll discuss the GarageBand “Master Track” tab. In the Master Track tab you can access the following: project settings (key, time signature and tempo), Track Effects (Reverb and Echo) and Master Track effects (such as EQ and compression). You can also access ready-made presets and save your own.
Note: To access the track info pane, press Command + I.
Project Settings
At the bottom of the Master Track tab is an area where you can set your projects settings for tempo, key signature (including the ability to specify major or minor key) and time signature.
Note: this information can also be set in the LCD display when it’s set to “project” mode.
Track Effects Section
Here you can adjust both reverb and echo (delay) for the entire project. First, note that these effects can be turned on or off here. You can also manually adjust the settings, browse or save presets.
To adjust the effect settings, double click the effect’s icon and you’ll see a set of sliders plus an on/off switch and a dropdown box with presets.
You can also save your own presets to use again in your other projects. To save your settings, double-click the effect’s icon and select “make preset” from the dropdown box.
Master Effects Section
In GarageBand 11 there are 4 slots in this section. The 1st slot is typically empty allowing you to add either GarageBand or 3rd party effects such as Amplitube. The other slots typically have an EQ, Compressor and the “Ducker” (used for making voiceovers).
EQ: To adjust the effect’s settings, double click the effect’s icon. In this area you’ll see and on/off switch plus several options.
- Preset dropdown box for selecting or saving EQ presets. To save your settings, select “make preset” from the dropdown box.
- Frequency analyzer with a “checkbox” to activate.
- Details section for adjusting both the frequency to boost or cut plus the amount.
Compressor: In GarageBand 11 you only have access to the on/off switch on top and a long list of presets to choose from in the dropdown box below.
Ducker: The “Ducker” is used in making podcasts or voiceover tracks. Essentially, it automatically lowers the volume of one or more tracks whenever you’re speaking. For details, see the GarageBand help section entitled “Duck Backing Tracks”.
Saving Your Master Effect Settings
In the lower right side of the master track info pane you’ll see an option to “save master”. Click the button, name your preset and click “save”.
Note: you may get an error warning you that your preset will be hidden. If so, make sure you’ve selected either “my settings” or “show all” from the dropdown box in the “browse” tab of the master track info pane.
I hope this quick overview of GarageBand instrument and master track settings has been helpful to you in your journey as a GarageBand user. With music software, it’s often best to learn by doing so please take some time and work through the two tabs and experiment!
Free Video Tutorials: We have comprehensive and in-depth tutorials on both EQ and compression available on our YouTube page. Check them out if you’d like to learn more about these important effects. These tutorials cover the basics as well as showing you how to apply them to your drum tracks.